Rental-Friendly Art
Rental-Friendly Art is a rental fix for readers weighing no-damage hanging, scale, framing cost, and blank-wall warmth. The home detail note explains what to check before buying, who should skip it, and where the purchase can become more work than it first appears.
The modern rental agreement is often a masterclass in restrictive clauses, with the prohibition against wall damage standing as the most universally enforced barrier to making a temporary apartment feel permanent. Security deposits are held hostage by the threat of nail holes, leaving residents to stare at vast, uninterrupted expanses of builder-grade white drywall. However, the psychological necessity of visual anchors in a living space remains. Establishing a focal point without penetrating the drywall requires a shift from brute-force hardware to a nuanced understanding of material physics, adhesive chemistry, and spatial geometry. Building an art collection in a leased space is less about compromising on scale or aesthetic ambition and more about rethinking the mechanics of suspension and display. By leveraging optical-grade acrylics, pressure-sensitive adhesives, and architectural leaning techniques, it is entirely possible to curate a visually dense, highly intentional environment that leaves zero trace upon move-out.
The Chemistry and Physics of Pressure-Sensitive Adhesives
The cornerstone of any non-destructive hanging strategy relies on pressure-sensitive adhesives, most commonly recognized in products like Command strips. Understanding why these fail is crucial to ensuring they succeed. These adhesives do not bond through a chemical reaction or drying process; they require mechanical pressure to force the microscopic polymer chains into the porous surface of the paint. The most common point of failure is insufficient surface preparation. Drywall accumulates a microscopic layer of airborne grease, dust, and cooking oils, particularly in open-plan apartments. Wiping the intended area with isopropyl alcohol is not an optional suggestion-it is a chemical necessity to strip away this barrier and allow the adhesive to make direct contact with the paint film.
Paint finish and age dictate the reliability of the bond. High-gloss and satin finishes provide a smooth, continuous surface that adhesives grip aggressively. Matte and flat paints, favored by landlords for their ability to hide drywall imperfections, are inherently chalky and porous. On matte walls, the adhesive often bonds to the top layer of pigment dust rather than the structural paint layer, leading to sudden failures where the strip pulls away, taking a thin sheet of paint with it. Furthermore, fresh paint requires a minimum of thirty days to fully cure and outgas. Applying adhesive strips to a wall painted the week before you moved in guarantees that the trapped solvents will degrade the adhesive backing, resulting in shattered frames a few weeks later.
The removal process requires strict adherence to the manufacturer's physics. The pull-tab mechanism works by stretching the foam backing, which forces the adhesive to release its grip linearly. Pulling the tab toward you, even at a slight angle, creates a fulcrum effect that will instantly tear the drywall paper, resulting in a repair job far more tedious than filling a standard nail hole. If a frame is hung tightly against the wall, leaving no room to access the tab, you must gently wedge a piece of dental floss behind the frame and saw through the foam core of the strip, allowing you to remove the frame and access the remaining adhesive tab directly.
Architectural Leaning and Floor-to-Ceiling Tension
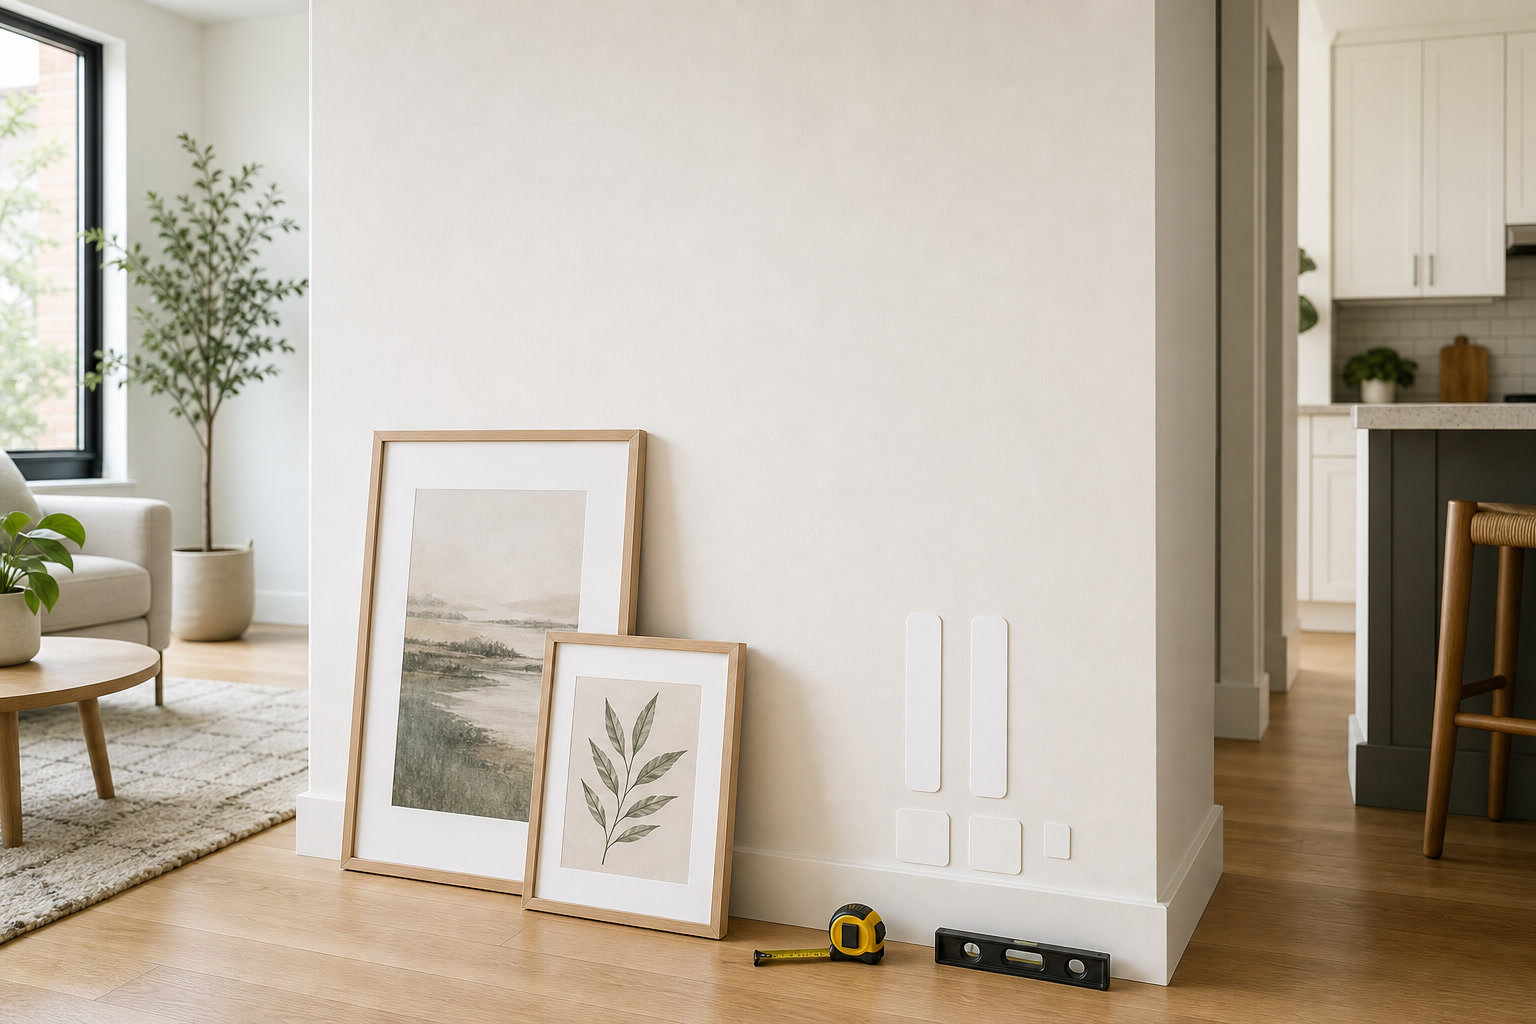
Bypassing the wall entirely is the most foolproof method of avoiding drywall damage, shifting the visual weight of the room downward and creating an intentionally relaxed, studio-like atmosphere. The architectural lean utilizes the floor, deep window sills, and non-functional fireplace mantels as foundational supports for oversized pieces. The geometry of the lean is critical; too steep an angle and the piece catches glare from overhead lighting, too shallow and it risks sliding forward. To mitigate the risk of a heavy frame slipping on hardwood or tile floors, apply dense rubber cabinet bumpers to the bottom edge of the frame. This provides necessary friction and protects the floor finish from scratches.
Leaning art allows for dynamic layering that traditional hanging prohibits. Placing a smaller, intimately scaled piece slightly overlapping a massive floor mirror or a large canvas creates depth and shadow, breaking up the rigid grid typical of gallery walls. This method also drastically reduces the maintenance burden associated with dusting and leveling multiple suspended frames. When curating a leaned arrangement, consider the visual balance of the room; anchoring one corner with a large, dark-framed piece requires a counterweight on the opposite side of the space, whether through furniture mass or lighting, to prevent the room from feeling lopsided.
For those who require verticality without the floor footprint, floor-to-ceiling tension systems offer a structural alternative. These industrial poles use internal springs to wedge tightly between the floor and ceiling, providing a rigid vertical column to which adjustable hooks and brackets can be attached. Originally designed for room dividers or retail displays, these tension systems can support significant weight, allowing you to hang heavy, glass-glazed frames in the center of a room or flat against a wall without a single screw. The primary maintenance check involves periodically testing the tension, as seasonal humidity changes can cause ceiling joists to expand and contract, potentially loosening the pole's grip.
Weight Mitigation: Acrylic Glazing and Textile Alternatives
When you are entirely reliant on the shear strength of adhesive strips, every ounce matters. The most effective way to drastically reduce the weight of framed art is to replace traditional silica glass with optical-grade acrylic, commonly known as Plexiglass. A 24x36 inch frame glazed with standard glass can weigh upwards of fifteen pounds, pushing the absolute limits of heavy-duty adhesive hooks. Swapping that glass for acrylic reduces the weight by more than half, bringing the piece well within the safety margins of temporary hanging solutions. High-quality acrylic offers identical clarity to glass and provides superior UV protection, preventing prints from fading in sunlit apartments.
The trade-off for this weight reduction is a specific maintenance burden. Acrylic is highly susceptible to micro-scratches and carries a static charge that attracts airborne dust and pet hair. Cleaning an acrylic frame with standard glass cleaner and paper towels will permanently cloud the surface with microscopic abrasions. Maintenance requires a dedicated routine using an anti-static plastic polish and a clean, tagless microfiber cloth. When ordering frames with acrylic, leave the protective film on both sides of the glazing until the artwork is mounted and the frame is sealed, removing it only as the final step before mounting the piece to the wall.
Moving away from rigid frames entirely opens up a category of lightweight, large-scale art. Canvas paintings, linen tapestries, and raw textile pieces offer massive visual impact with negligible weight. A large canvas stretched over a wooden frame rarely exceeds three pounds and can be safely suspended using a single adhesive sawtooth hook. Unframed textiles can be hung using magnetic poster hangers-two strips of magnetized wood that clamp the top and bottom edges of the fabric. This requires only a single, tiny anchor point, often just a thumbtack or a small adhesive hook, and allows the fabric to drape naturally, adding much-needed acoustic dampening and textural warmth to sterile rental environments.
The Washi Tape and Studio Aesthetic Routine
For smaller, lightweight ephemera-postcards, polaroids, risograph prints, and tear sheets-the structural requirements of frames and heavy adhesives are unnecessary. High-quality Japanese washi tape offers a zero-damage, low-commitment method for creating dynamic, rotating displays. Unlike standard masking tape or clear tape, the adhesive on genuine washi tape is designed to be repositionable and leaves no sticky residue on either the wall or the artwork. This allows for a fluid, highly personal curation process where pieces can be moved daily without consequence.
Applying washi tape requires a deliberate aesthetic choice. You can use a single strip at the top center for a casual, hanging look, or frame all four corners for a more grounded appearance. The tape itself becomes part of the visual composition, introducing subtle blocks of color or texture. This method is particularly effective in home offices, above desks, or in narrow hallways where traditional frames might protrude too far and impede movement. The routine maintenance involves simply pressing the tape back down if humidity causes the edges to lift slightly.
This studio-style display method acknowledges the transient nature of rental living while still asserting ownership over the space. It is an active, ongoing curation rather than a static installation. As prints curl slightly away from the wall or tape edges fray, the display gains a lived-in, tactile quality that pristine gallery frames lack. When it is time to move out, the entire wall can be dismantled in minutes, leaving the paint flawlessly intact and the artwork ready to be packed flat into a single folder.
Pre-purchase checklist
- Verify the paint finish: Adhesives bond securely to satin and semi-gloss, but have a high failure rate on chalky, flat matte paints.
- Prep the surface with 70% isopropyl alcohol: Wipe the exact mounting area to remove invisible grease and dust, allowing the alcohol to evaporate completely before applying strips.
- Calculate the weight with a 20% safety margin: Weigh your fully assembled frame on a kitchen scale and ensure the total capacity of your adhesive strips exceeds this weight by at least twenty percent.
- Confirm the glazing material: For any frame larger than 16x20 inches hung with adhesives, verify that the clear front is lightweight acrylic (Plexiglass), not heavy silica glass.
- Apply bottom bumpers: Attach felt or rubber pads to the bottom back corners of the frame so it sits parallel to the wall, preventing the bottom edge from scraping the paint.
Who should skip this
Renters living in historic buildings with crumbling plaster walls, heavily textured orange-peel drywall, or unpainted brick should entirely skip adhesive-based hanging methods. Pressure-sensitive adhesives require a smooth, continuous surface to create a bond; on textured walls, the adhesive only grips the raised peaks of the texture, reducing its holding power by up to eighty percent. Furthermore, individuals residing in extremely humid microclimates without central air conditioning will experience frequent adhesive failure, as sustained moisture degrades the foam core of the strips. In these environments, rely strictly on architectural leaning, tension rods, or utilizing existing picture rails if the historic architecture provides them.
Affiliate transparency
FikaLooks operates as an independent editorial platform. If you purchase frames, hanging hardware, or art prints through the outbound links in this guide, we may earn a commission. We only link to specific adhesive brands, framing materials, and acrylic polishes that have demonstrated consistent reliability across various paint finishes and long-term rental scenarios.
FAQ
How do I remove an adhesive strip if the pull-tab breaks off flush with the frame?
Do not attempt to pry the frame off the wall with force, as this will tear the drywall paper. Take a piece of standard dental floss, wrap it around your fingers, and slide it behind the frame. Gently saw back and forth through the foam core of the adhesive strip until the frame detaches. Once the frame is down, use a hairdryer on a low setting to warm the remaining adhesive on the wall, then slowly peel it back from the edge.
Can I use heavy-duty adhesive strips on wallpaper?
No. Pressure-sensitive adhesives will bond permanently to the surface of the wallpaper. When you attempt to stretch and release the tab, the shear force will rip the top layer of the wallpaper off, ruining the pattern. For wallpapered rooms, you must rely on leaning art against the wall, using tension rods, or utilizing existing picture rails.
Why did my framed print fall off the wall in the middle of the night?
Nighttime failures are almost always due to temperature drops. As the ambient temperature in the apartment falls, the adhesive backing contracts and stiffens, losing its flexibility and grip on the paint. This is usually compounded by skipping the isopropyl alcohol surface prep, meaning the stiffening adhesive was only holding onto a layer of surface dust rather than the paint itself.
How do I clean acrylic frames without leaving permanent scratches?
Never use glass cleaner, ammonia-based sprays, or paper towels, as these will cause micro-abrasions and clouding. Use a dedicated plastic polish (like Novus No. 1) or a simple mixture of distilled water and a drop of dish soap. Apply the liquid sparingly and wipe gently with a clean, tagless microfiber cloth, moving in straight lines rather than circular motions to avoid creating swirl marks.